
Menu 3, Call Settings
You can customize your phone by setting its ringing vol-
ume and tone with Call Settings. You can also activate
some key features such as One-Touch Dialing and Emer-
gency Key 9, as well as storing up to four long-distance
calling cards.
Menu 3 1, Ringing Volume
You hear each ringing level as you
scroll through the volume levels.
When your phone is connected to an
accessory, such as a headset or a car
kit, the ringing volume for that acces-
sory can be set individually with this
feature.
Menu 3 2, Ringing Tone
Your phone plays a sample of each
pattern as you scroll.
Note: The ringing tone selection will
remain the same for all accessories.

26
Menu 3 3, One-Touch Dialing
With this feature on, you can dial any of the phone num-
bers stored in personal directory locations 2-8 by pressing
and holding the number of the personal directory location.
The default setting is 2II.
See One-Touch Dialing on page 13 for more information.
Note: Pressing and holding 9 causes your phone to at-
tempt to make an emergency call if youve turned on the
Emergency Key 9 feature (Menu 3 4).
Menu 3 4, Emergency Key 9
With this feature on, you can use the 9 key to attempt
emergency calls to the emergency number prepro-
grammed into your phone. Either press and hold 9 or
press 9 then
í
. The default setting is 2II.
Note: When Keyguard is 21, calls may be possible to the
emergency number programmed into your phone (e.g.
911 or other official emergency number). However, Emer-
gency Key 9 will not operate.
See Emergency Key 9 on page 11 and Keyguard on
page 12 for more information.
Menu 3 5 Automatic Redial
When this is on, your phone redials the number you are
trying to call up to 3 times. Press
ô
to stop the call at-
tempts. The default value is 2II.
Note: This feature attempts to redial numbers when the
wireless network is busy. It will not redial numbers to a
busy party.
Menu 3 6, Automatic Answer
When your phone is connected to a headset or the hands-
free facility of a car kit, you can set your phone to answer
calls automatically after one ring. Car kits must be
equipped with the ignition sense option. The default set-
ting is 2II.
Note: This feature will not function with data calls.

27
Menu 3 7, Calling Card
Making a calling card call is easy with
this feature. However, you must first
store your calling card information
into your phone. Your phone can
store up to four different calling cards.
Once the cards information is stored
and selected with Menu 3 7, your phone will automatically
use this card when you make calling card calls unless you
select a different one.
To store a calling card
Once you press 0HQX 3 7, your phone lists &DUG $0' and
1RQH
. Press W to select the card you want and press 2..
Enter your five-digit security code at the 6HFXULW\ &RGH:
prompt, then press 2.. This gives you the 6(/(&7 ',$/0
,1* 6(48(1&(
screen. Press 6HOHFW and select the
sequence your card uses. If youre not sure which dialing
sequence you should use, refer to the back of your calling
card.
For example, if you must 1) dial the 1-800 access number,
then 2) enter your calling card number and PIN, then 3) dial
the phone number, then you must select that dialing se-
quence (see chart) for your phone.
After you have selected the dialing sequence, you must
store the information necessary for that dialing sequence,
such as the access number, card number and PIN.
If you wish to store the name of the calling card, you must
press
÷
while $FFHVV QXPEHU= or &DUG QXPEHU= is
displayed.
For more information on your phones security code, see
Security Features on page 46.
28
∗
These calling cards are frequently used with these dialing
sequences. However, they may vary and are subject to
change at the phone companys discretion.
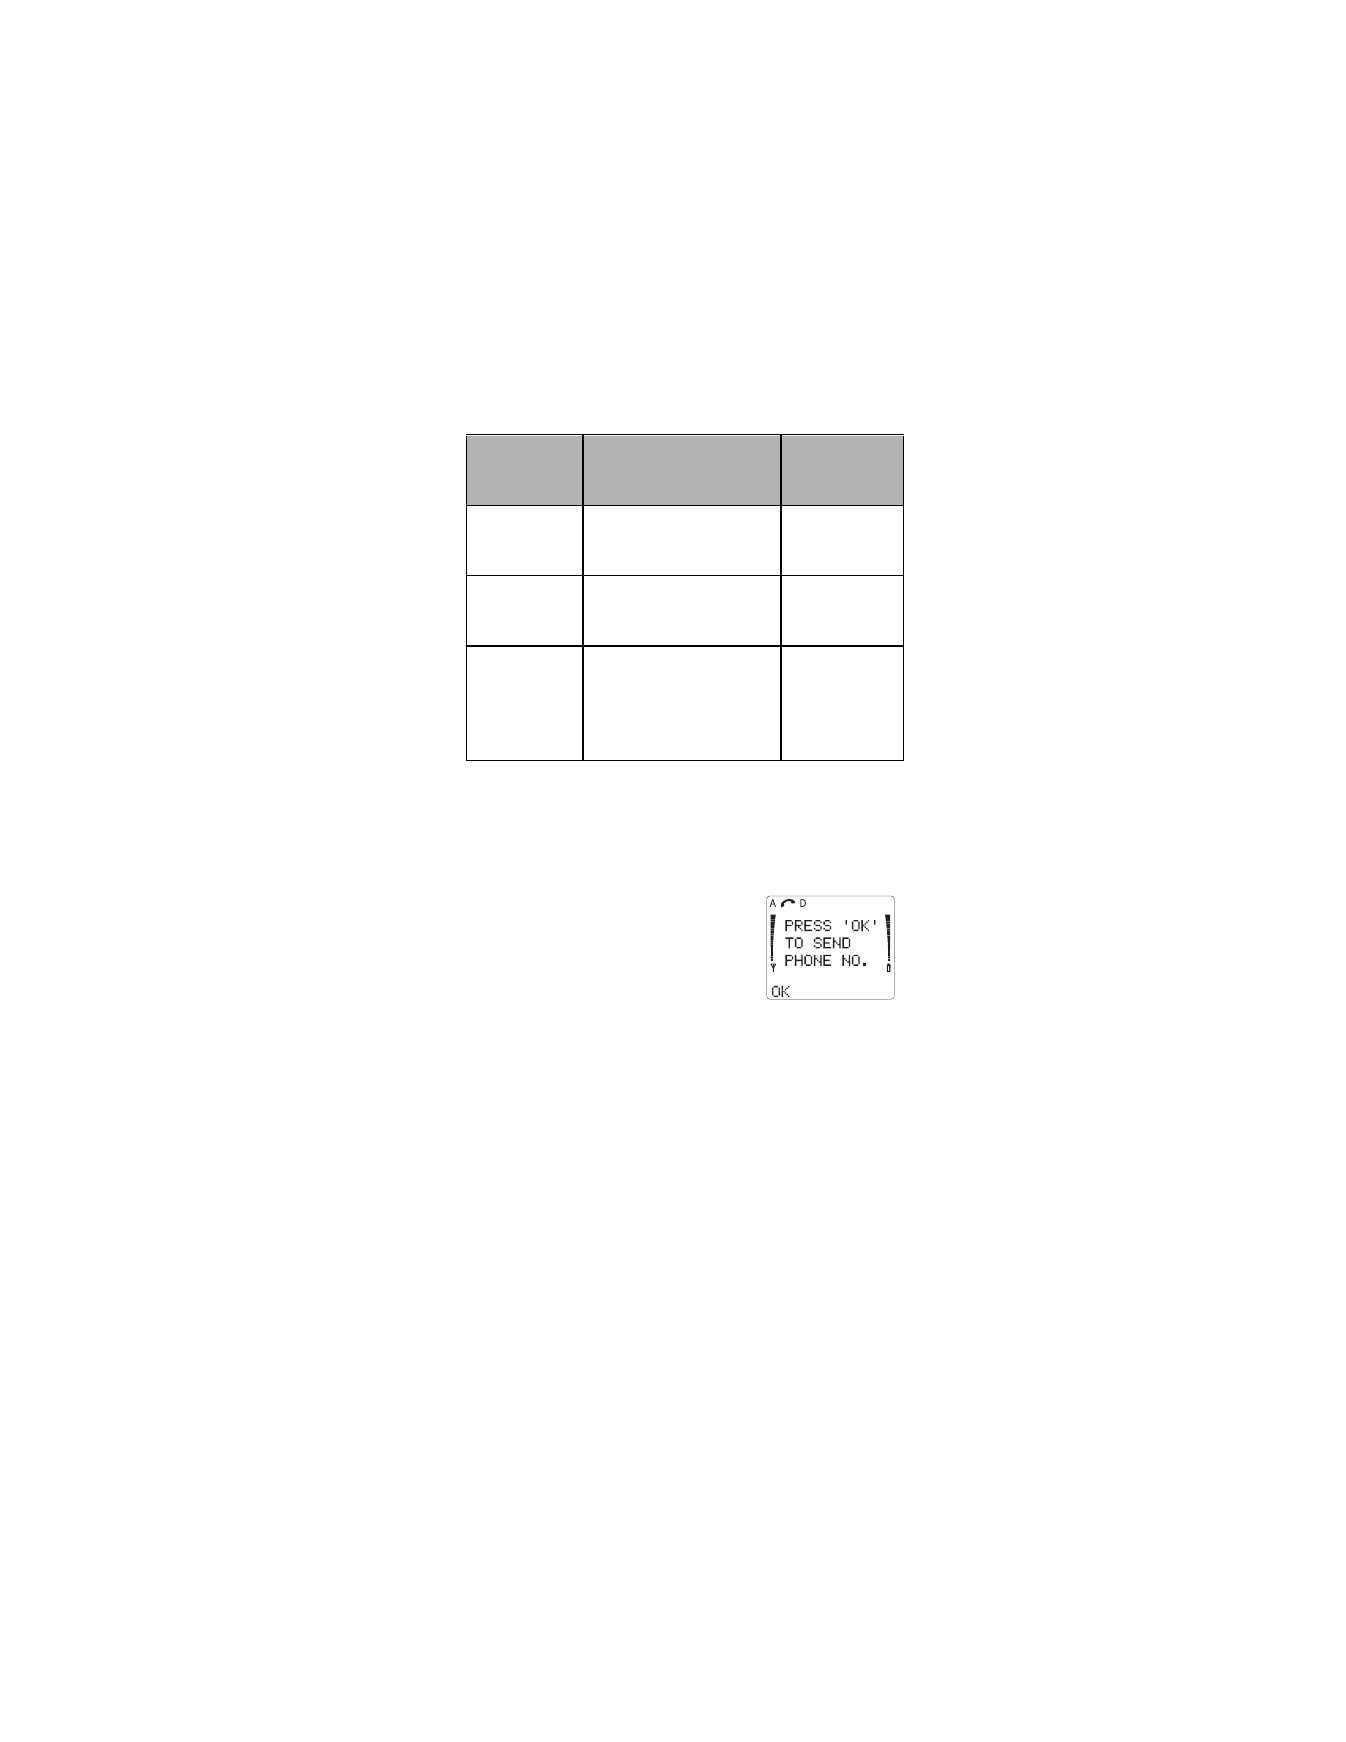
To make a calling card call
1) Enter the phone number, includ-
ing any prefix that your calling
card may require
2) Press and hold
í
for a few
seconds until the phone displays
&$5' &$//
3) When you hear a tone or voice prompt, press 2..
When you hear another tone or voice prompt, press
2.
again.
You may also use the keypad, when necessary, to send
any other numbers that must be sent along with any
stored calling card information.
To change stored calling card information
If you wish to change any calling card information already
stored in your phone, simply follow the same instructions
used to store a new calling card.
Dialing
Sequence
Use for cards that
require you to:
Cards
using this
sequence
*
Access No.
+ Phone No.
+ Card No. + PIN
Dial 1-800 access number,
then phone number, then card
number + PIN (if required)
MCI, AT&T True
Choice, Sprint
Canada, Unitel
Access No.
+ Card No. + PIN
+ Phone No.
Dial 1-800 access number,
then card number + PIN (if
required), then phone number
networkMCI,
WorldPhone MCI
Prefix
+ Phone No.
+ Card No. + PIN
Dial the prefix (any numbers
that must precede the phone
number) and phone number
you want to dial, then card
number, then PIN (if required)
GTE, PacBell,
AT&T, Stentor

29
The dialing sequence that appears first is the one that is
currently selected. To enter a new access number or card
number, press
ù
repeatedly to erase old numbers and
enter new information as needed.
Menu 3 8, One-Touch Pin Calls
One-Touch PIN is a network security feature that is used
to help prevent fraud. Please see Automatic PIN Calls on
page 49 for more information.
Menu 3 9, Messages Only Mode
Your phone will not ring when you set it to Messages Only
Mode. Instead, your phone will send all calls to your voice
mail. You can also receive text messages and pages when
someone tries to call you. The default setting is 2II.
See Messages & Pages on page 42 for more
information.